
How to Test If Your Email Looks Like Spam
Before sending your email campaign to your full list, it’s crucial to test how your message performs against spam filters. This process can highlight issues related to content, authentication, structure, and formatting — all of which affect whether your email lands in the inbox, promotions tab, or spam folder.
This guide will help you use www.mail-tester.com, a free and effective tool that gives your email a spam score out of 10. While it's not foolproof, it covers the major spam signals used by most filters and can drastically improve your email deliverability.
Step 1: Open Mail Tester
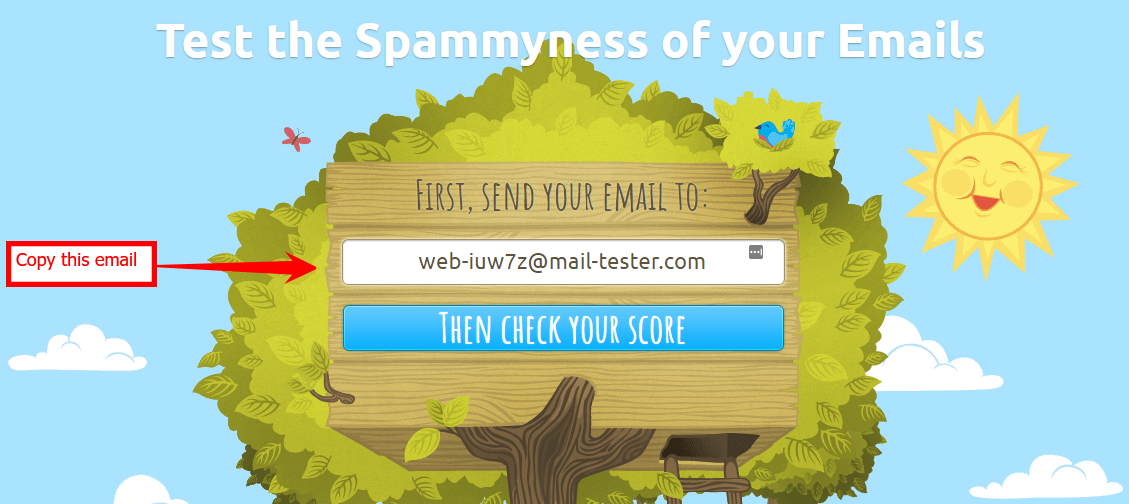
Go to: www.mail-tester.com The page will immediately show a temporary email address.
Step 2: Copy the Test Email Address
Copy the email address displayed on the Mail Tester page. This address is temporary and unique to your test session.
Add this address to your test list in BulkMail — make sure this list is set up only for internal testing purposes.
Step 3: Send a Test Campaign
Use BulkMail to send your email campaign to your internal test list, including the Mail Tester address you copied.
This will simulate an actual send — making the test more accurate than using a basic preview tool.
Step 4: Check Your Score
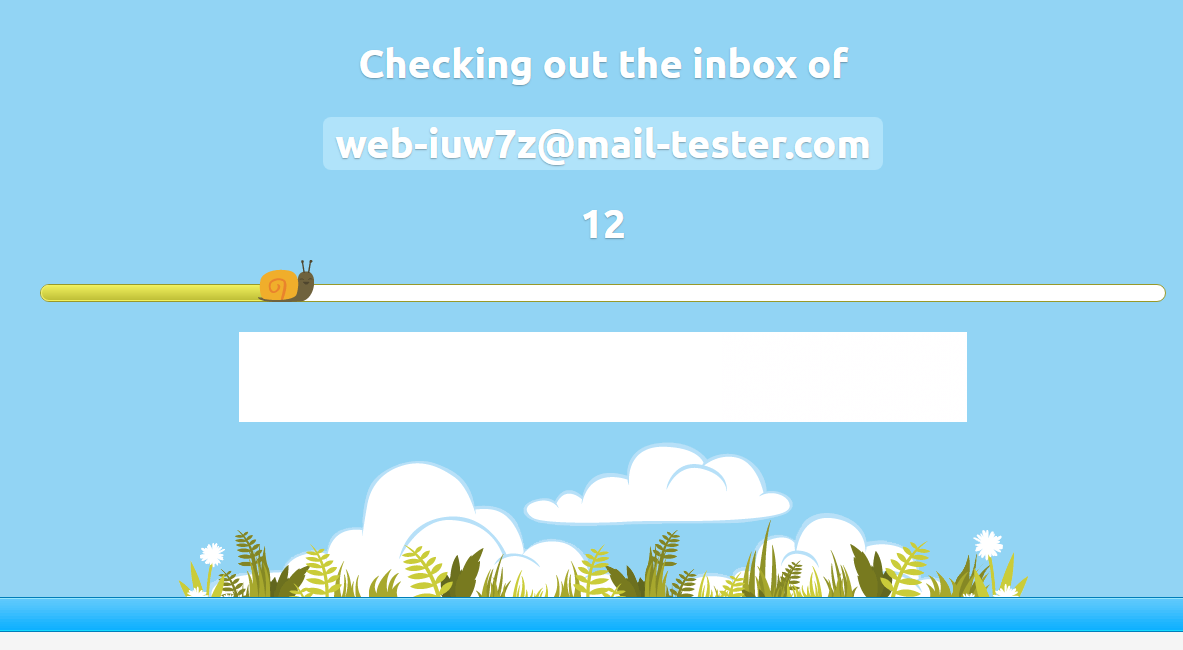
After the test email has been delivered, go back to the Mail Tester tab. Click on “Check your score”.
The system will analyse your email’s content, structure, headers, SPF/DKIM records, blacklists, and more.
Step 5: Review the Results
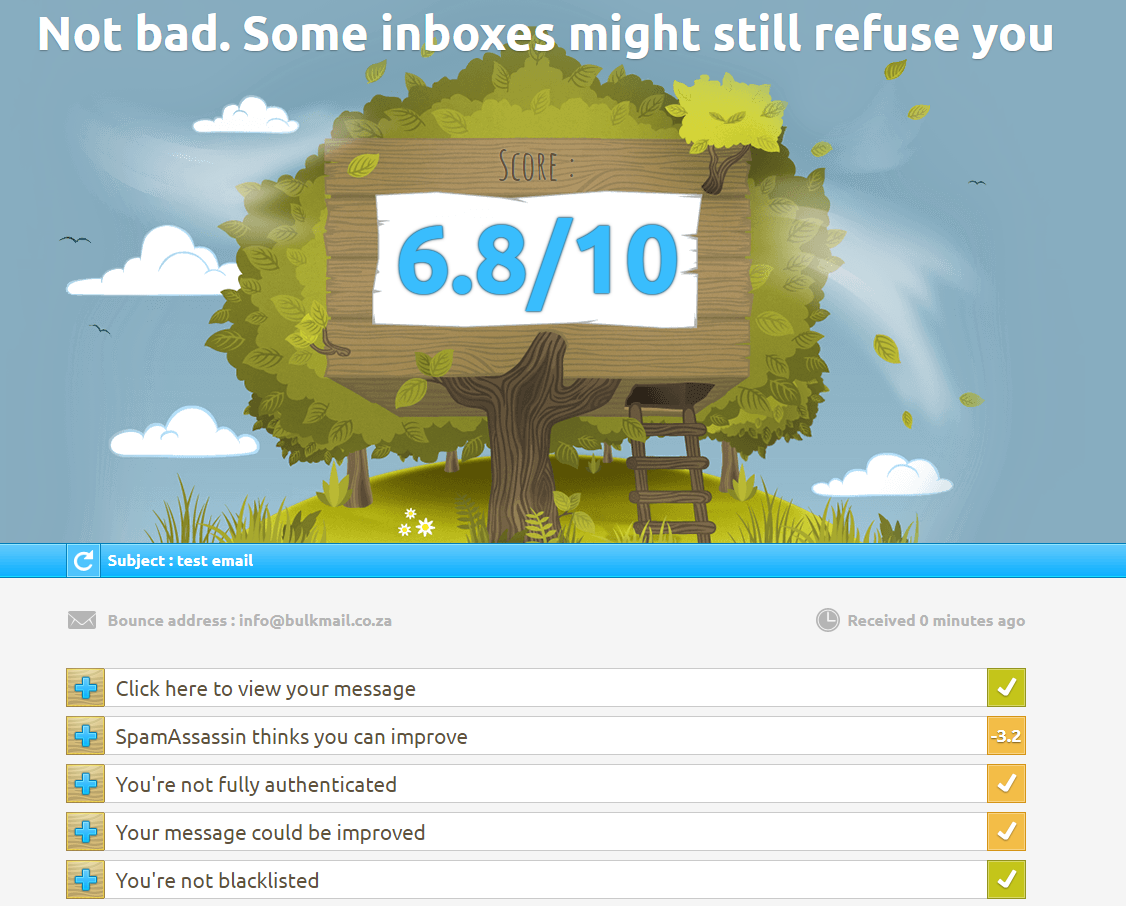
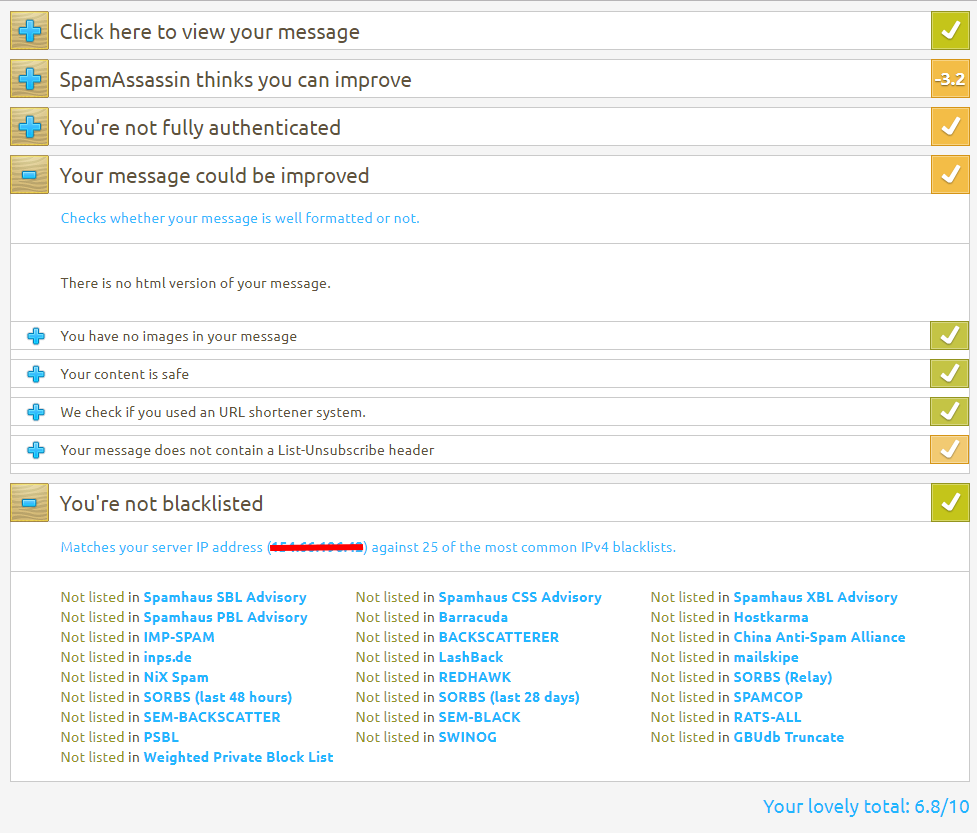
You’ll receive a score out of 10, along with a breakdown of:
- Authentication records (SPF, DKIM, DMARC)
- Spam words or risky phrases
- HTML structure and balance
- Image-to-text ratio
- Blacklists (if your domain or IP is on any)
Click each section to see what triggered a deduction, and how to fix it.
Step 6: Make Improvements and Retest
Apply the changes suggested by Mail Tester — this may include:
- Fixing broken or missing DNS records (SPF/DKIM)
- Removing spammy language or excessive punctuation
- Adding alt text to images or correcting HTML issues
Then send a new test to the same Mail Tester session (using the same temporary address) and check your updated score.
Repeat the process until your score improves and stabilises.
Step 7: Final Send to Subscribers
Once your test results are consistently scoring 9 or 10 out of 10, you’re ready to send your email to your full subscriber list.
Remember:
- Mail Tester addresses are session-based, so they expire. Always delete test addresses from your BulkMail list once testing is complete.
Final Tips
- Run a test every time you launch a new campaign or edit content.
- Use different inboxes (Gmail, Yahoo, Outlook) to manually test rendering.
- Use BulkMail’s built-in tools to verify your list and monitor real-time engagement.
Testing your campaign in advance helps you avoid deliverability surprises, protects your sender reputation, and ensures your message reaches real inboxes — not the spam folder.